Internal Installation
Our polyurethane integrated tactiles are installed using our signature Peel, Bond & Walk® method, which allows for a quick and easy installation.
This installation method allows our tactiles to be installed onto almost any substrate, including carpet tiles and vinyl.
Our tactiles are supplied installation ready, however we offer professional installation services at competitive rates and can complete any project for you. Please get in touch with our sales team for further information.
Before beginning the installation; check that new concrete has been cured for a minimum of 21 days.
1. Mark out the area to be tiled using a straight edge or chalk line allowing for a 2mm gap between each tile.
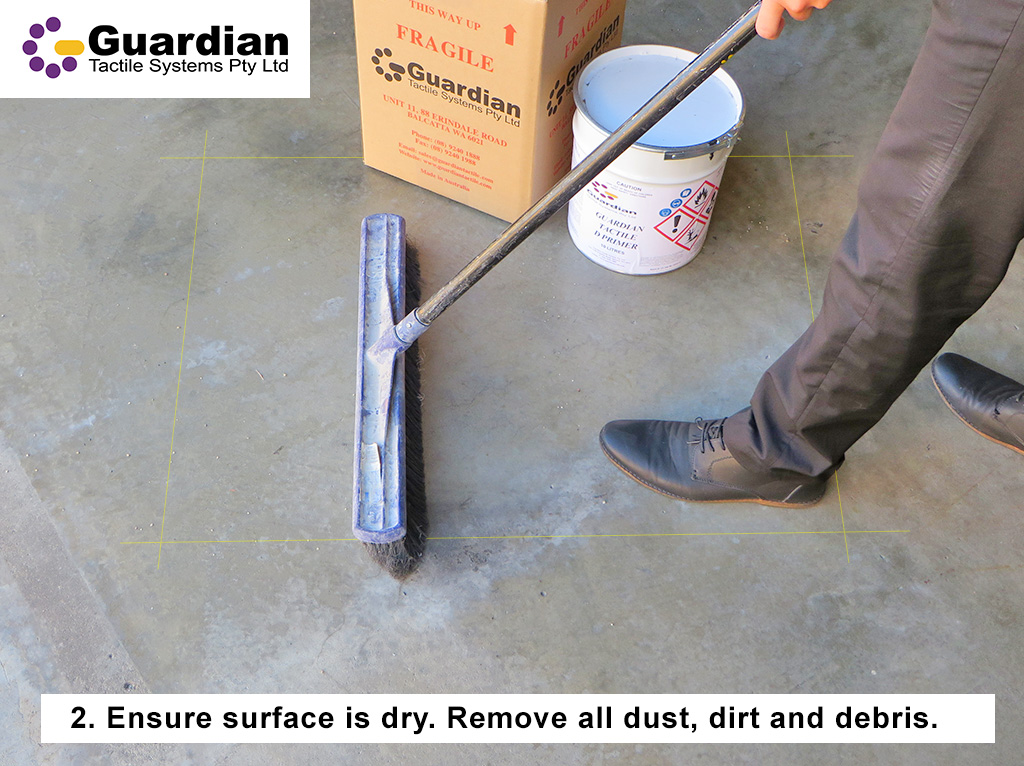
2. PREPARING SURFACE AREA:
- Ensure concrete is completely dry. Poor adhesion will occur if area is not dry.
- For rough concrete, lightly sand area first.
- Remove all dust, dirt and debris with a vacuum cleaner. Poor adhesion will occur if area is not cleaned properly.
- If painted or sealed, thoroughly clean concrete area with a clean cloth and ACETONE. Allow for area to completely dry.
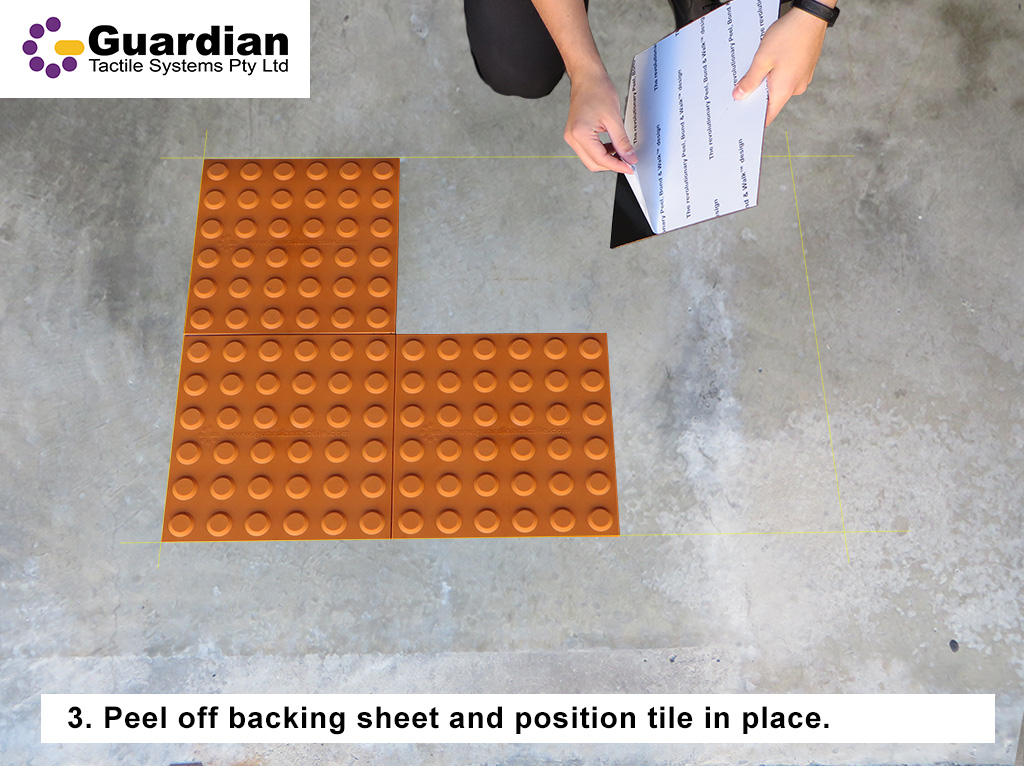
3. Peel off the backing sheet from the tile. Lay the tiles to the marked lines, ensuring they are square.
THE ADHESIVE WILL BOND IMMEDIATELY.
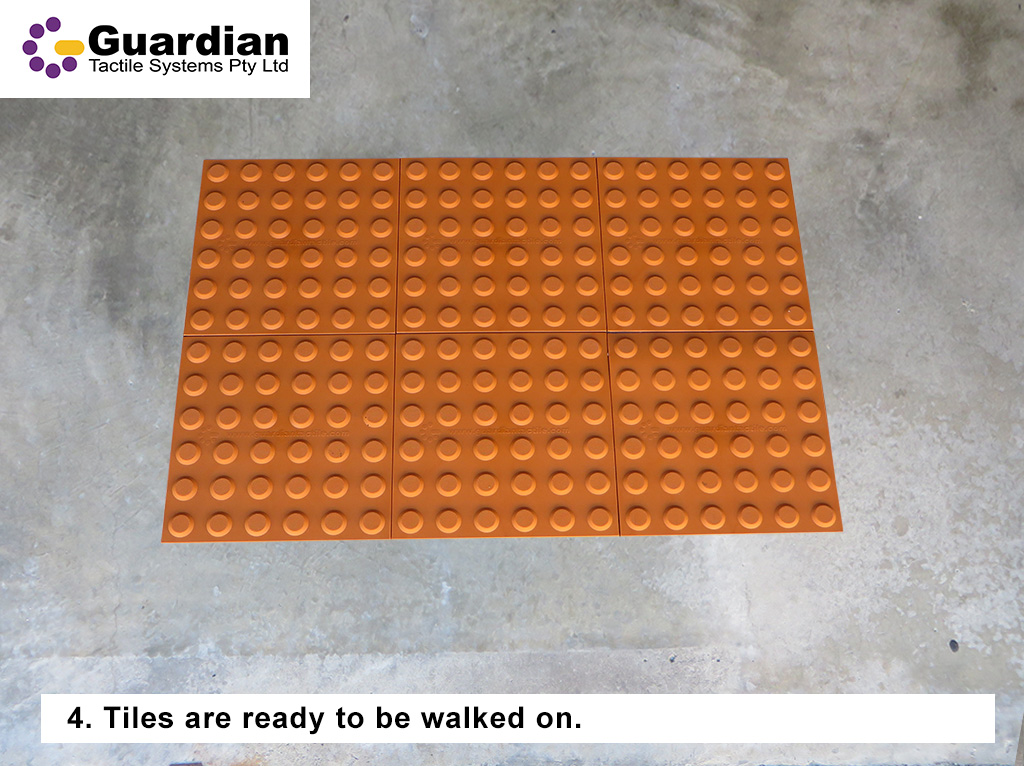
4. Tap the flat and then raised surface of each tile using a wooden block and hammer. Tiles can be walked on immediately.

Guardian integrated tactile can be bonded directly to carpet, concrete, granite, aggregate, tiles, vinyl, rubber and timber.
